Leather tooling tools for beginners
The short list of tools you need to carve your first pattern, what each one does, and which ones can wait.
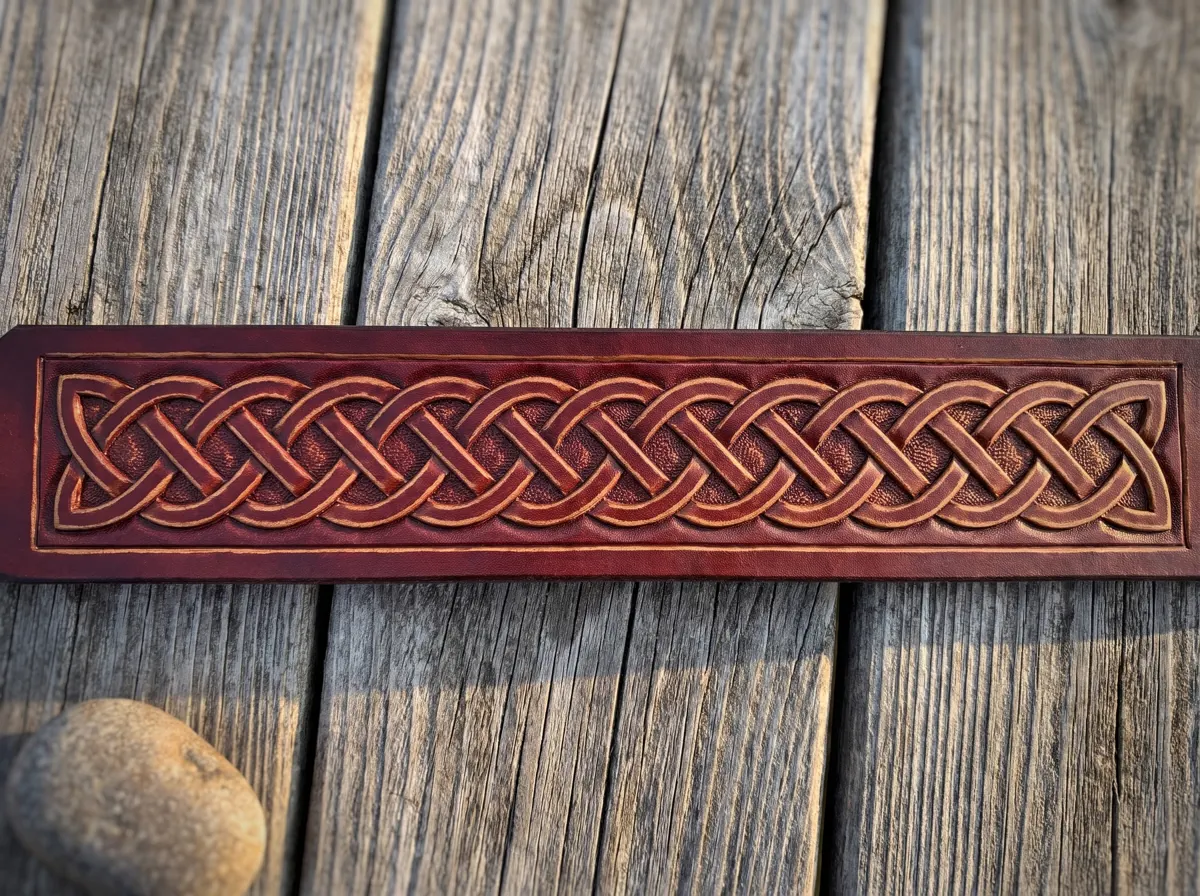
A leather stamp catalogue lists hundreds of tools, and beginner kits often include stamps you will rarely use. A first floral or western pattern needs far fewer. This is the list to start with, in the order you use them on a piece.
Leather
Vegetable-tanned leather, tooling grade. For a first project, 5 to 7 oz (about 2 to 2.8 mm) is forgiving: thick enough to take a deep cut and a clear bevel, thin enough to work into coasters, small panels or a key fob. Belts are usually 8 to 10 oz, and wallet exteriors 3 to 4 oz.
For the transfer
A sponge for casing, tracing film, tape, and a stylus or modeling spoon for tracing the pattern. A modeling tool with a stylus on one end and a spoon on the other covers both jobs.
Swivel knife
The swivel knife cuts every main line of the design. Buy the best one you can afford, because a cheap knife with a poorly ground blade is the most common reason beginners decide they are bad at carving. You also need a strop and polishing compound to keep the edge sharp. See how to use a swivel knife.
Mallet or maul
Something to strike the stamps with. A poly or rawhide mallet or a maul works; a metal hammer damages the stamps. Weight matters more than style: a heavier maul does the work with less arm effort, so your strikes stay even across a long session.
The stamps you will actually use
- A beveler, used along nearly every cut line to push one side down and give the design depth. Start with one checkered or lined beveler of medium width. How to bevel.
- A pear shader, which rounds the inside of petals and leaves so they look curved.
- A backgrounder, which flattens and textures the space between design elements so the design stands up from it.
- A veiner, which makes the curved marks along leaves and scrolls.
- A camouflage stamp, which adds the fan-shaped texture along stems and the inside of curves.
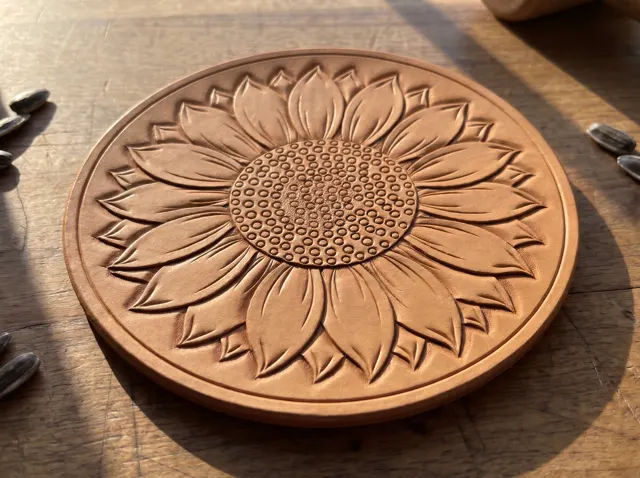
- A seeder, a small dot stamp for flower centres.
Those six cover the stamps called for in most floral and western patterns, including the ones in our beginner packs. Every pattern lists the tools it uses, so check the list before buying more.
A hard surface
Stamp impressions need a solid base under the leather. A granite or marble slab on a firm bench is the standard. Tooling on a wobbly table wastes half of every strike.
What can wait
Figure carving stamps, hair blades, undercut bevelers, mule foot stamps, and the many sizes of each basic stamp. You will know you need one when a pattern calls for it and a substitute will not do. Most early carving improvement comes from practice with the six basics on scrap leather.