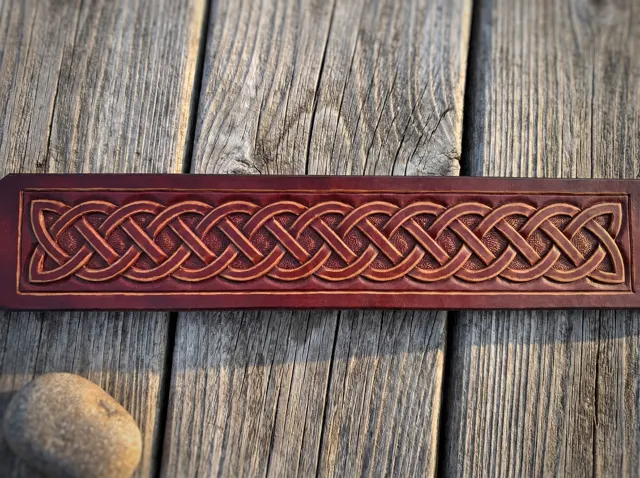
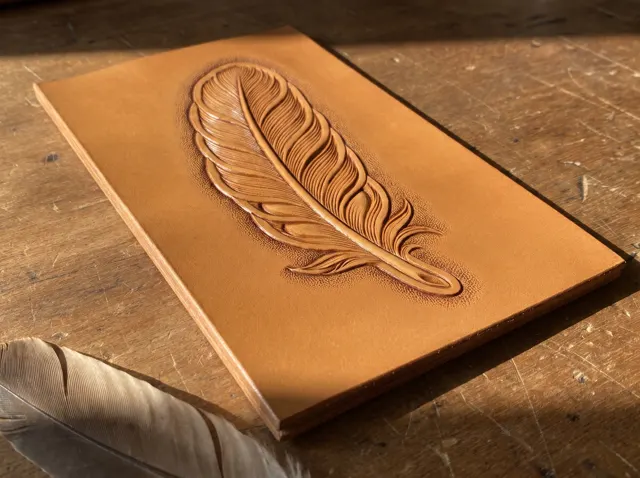
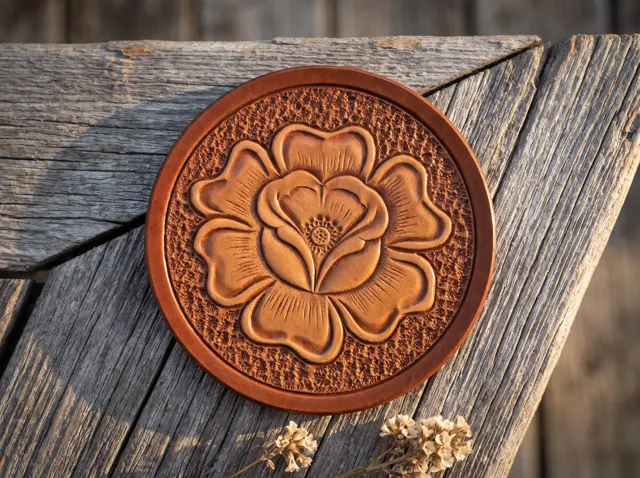
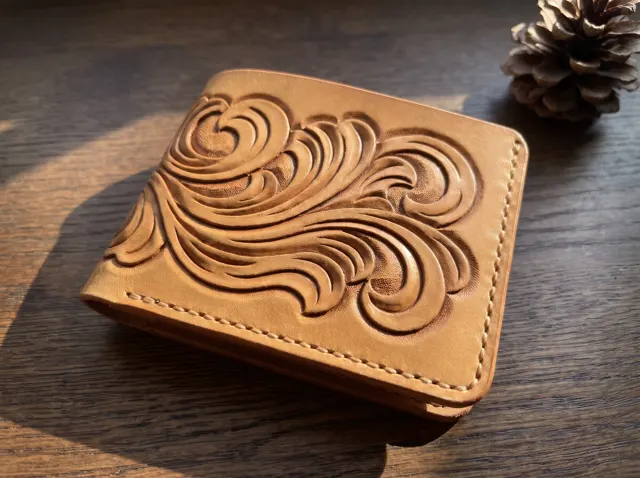
How to transfer a tooling pattern to leather
Printing a pattern at the right size, tracing it onto cased veg-tan with a stylus, and checking the lines before you lift the paper.
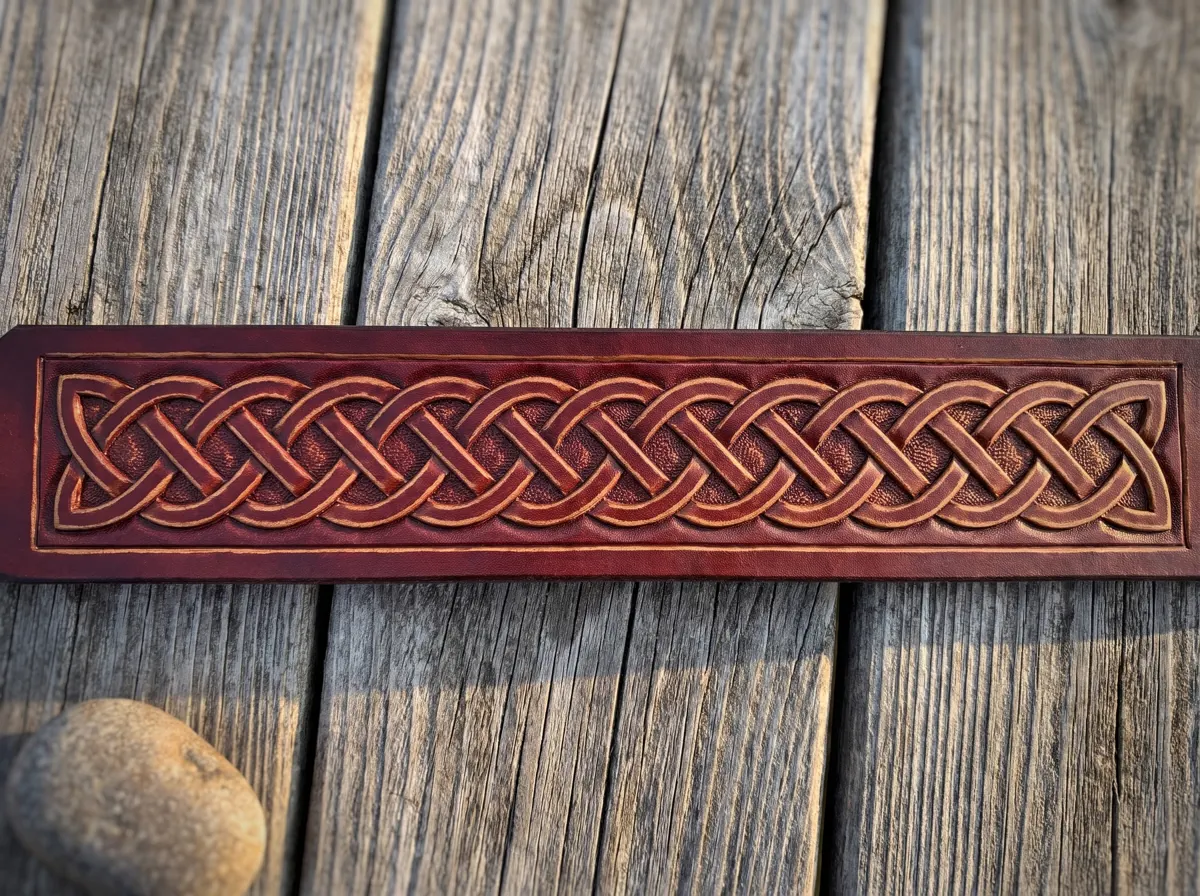
A tooling pattern is a line drawing you press into damp leather so you know where to cut. The transfer only leaves a faint groove in the grain, and the swivel knife follows it. Take your time over it, because every line you trace is a line you will cut.
Print it at the right size
Print the tracing page at 100% scale, with "fit to page" turned off. Most PDF viewers shrink a page slightly by default to fit the printer margins, and on a belt section or a wallet panel a few percent is enough to make the design miss its space. Measure a known dimension on the printout before you go further. If a pattern needs to be larger or smaller for your project, scale the whole page in the print dialog and measure again.
Use tracing film or thin paper
Ordinary printer paper works, but it soaks up moisture from the leather, stretches and goes soft. Tracing film (a thin clear plastic sold for leatherwork) does not, and you can see the leather through it, which helps you place the design. Many carvers trace the printed pattern onto film first and keep the film as a reusable master. Clear acetate or a page protector also works.
Tracing it onto the leather
- Case the leather first. Dry leather barely takes a traced line, and wet leather will smear.
- Position the pattern and tape it down on two sides so it cannot shift. A pattern that moves halfway through leaves a doubled line, and you cannot erase it.
- Trace every line with a stylus or a modeling spoon, using steady, light pressure. The stylus only needs to leave a faint groove for the knife to follow. Pressing hard through film can burnish the leather and leave lines you do not want to cut.
- Before you remove the tape, lift one corner and check. If you missed a line, lay the corner back down and trace it.
What to trace and what to leave
Trace the outlines you will cut with the swivel knife: flower and leaf edges, stems, scroll lines, borders. Many patterns also show decorative cuts and shading as lighter lines. You can leave those off the leather and add them freehand at the end, looking at the pattern beside you. That keeps the leather surface clean, and decorative cuts usually come out more fluid freehand.
Next step
With the design on the leather, you are ready to cut it with the swivel knife.