How to dye and antique tooled leather
How to use resist and antique so the colour sits in the cuts and stamped areas, how to dye a background, and how to finish the piece.
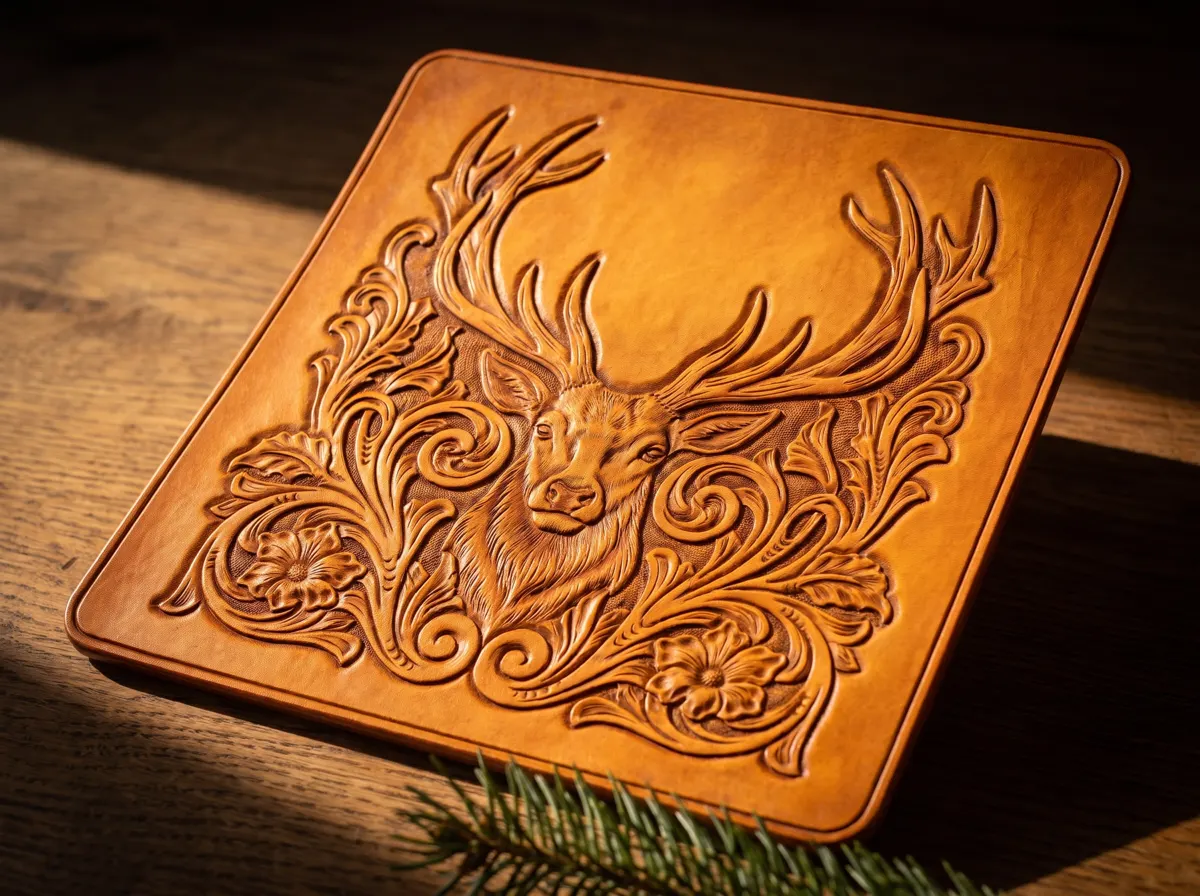
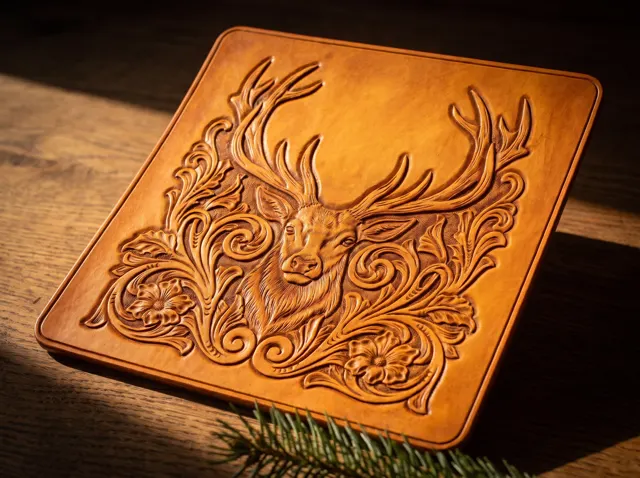
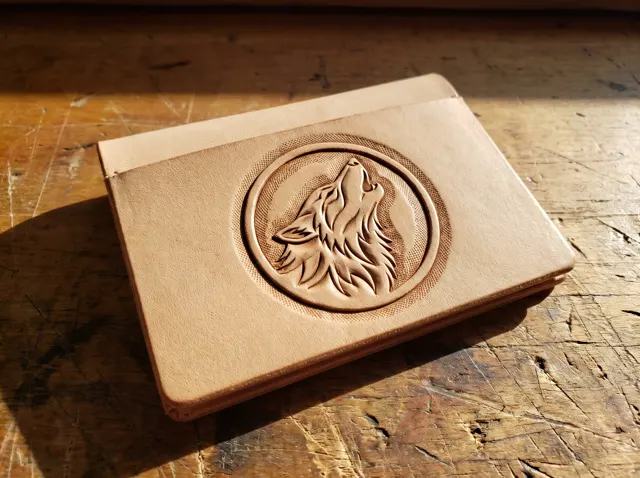
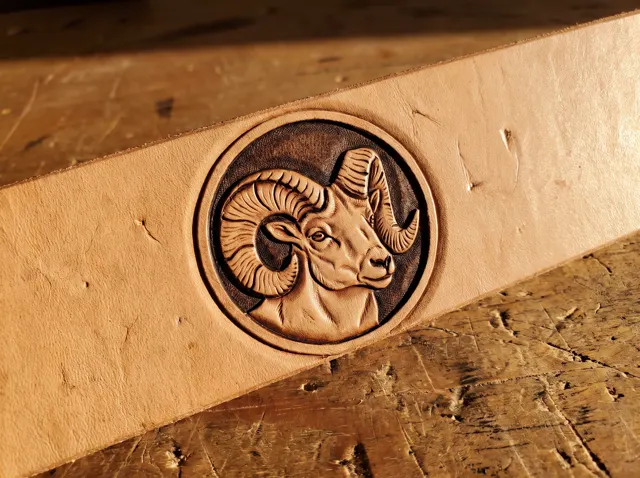
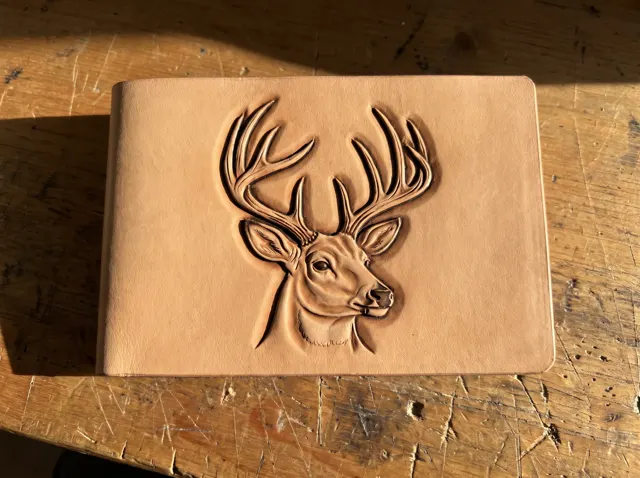
Antiquing is what makes tooling readable from across a room. The antique settles into cuts, bevels and backgrounded areas and wipes off the raised surfaces, so the relief you carved shows up as light and dark. Done carelessly, it turns the whole piece a muddy brown. The difference is mostly preparation.
Let it dry first
Leave the finished tooling to dry completely, usually overnight. Antique or dye on damp leather soaks in unevenly and blotches.
Dyeing a background (optional)
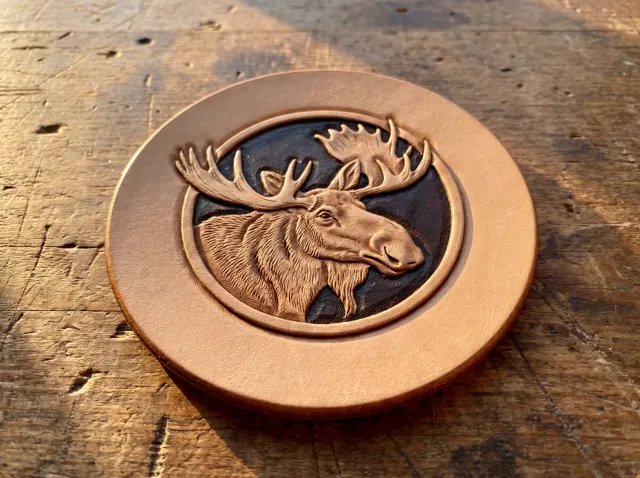
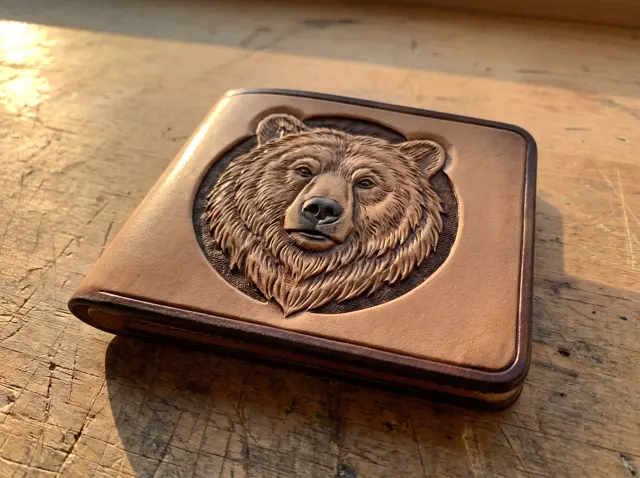
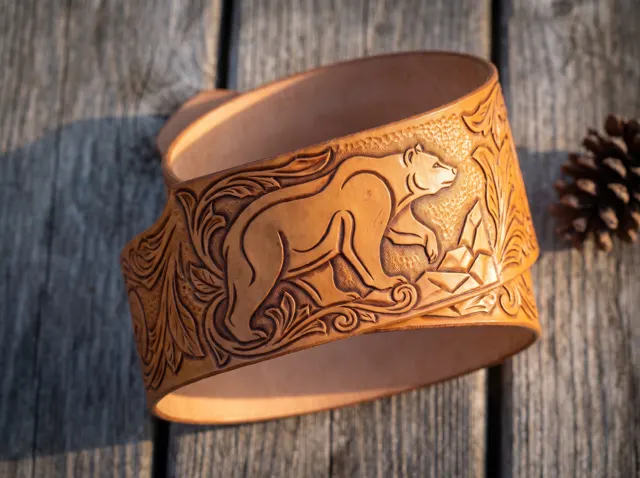
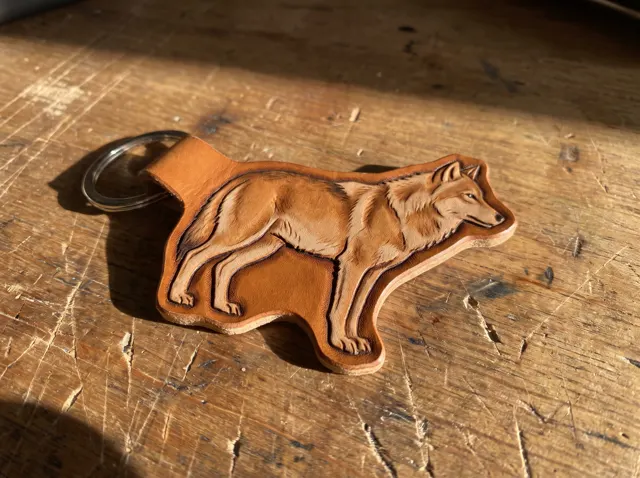
Many western and wildlife pieces have a dark background behind a lighter design. Paint the backgrounded areas with dye using a small brush, working up to the bevel lines but not over them. Thin coats are easier to control than one heavy coat, and dye on a fine brush bleeds less than dye on a dauber. Let it dry before going on.
Apply a resist
A resist is a thin finish that partly seals the surface, so the antique cannot soak into the raised areas and wipes off them. Apply a thin, even coat and let it dry. Without a resist, antique gets absorbed everywhere and the piece goes dark all over. With too thick a coat, the antique will not settle into the cuts either, so keep it thin.
Apply the antique
- Work antique paste or gel into the piece with a rag or sponge, pushing it into every cut and stamped area. Work one section at a time on a large piece.
- After a short wait, wipe the surface with a clean, slightly damp cloth. The antique comes off the raised areas and stays in the recesses.
- Keep wiping until you have the contrast you want. You can take more off, but you cannot easily lighten an area once it has soaked in.
Seal it
Once the antique is dry, apply a top coat finish to protect the surface and lock the colour in. Choose a finish for how the piece is used: a belt or a wallet needs something that handles flexing and rubbing.