How to lay out a tooled belt
Belt widths and leather weight, how long to cut the strap, where the tooling should start and stop, and how to repeat a pattern evenly along the length.
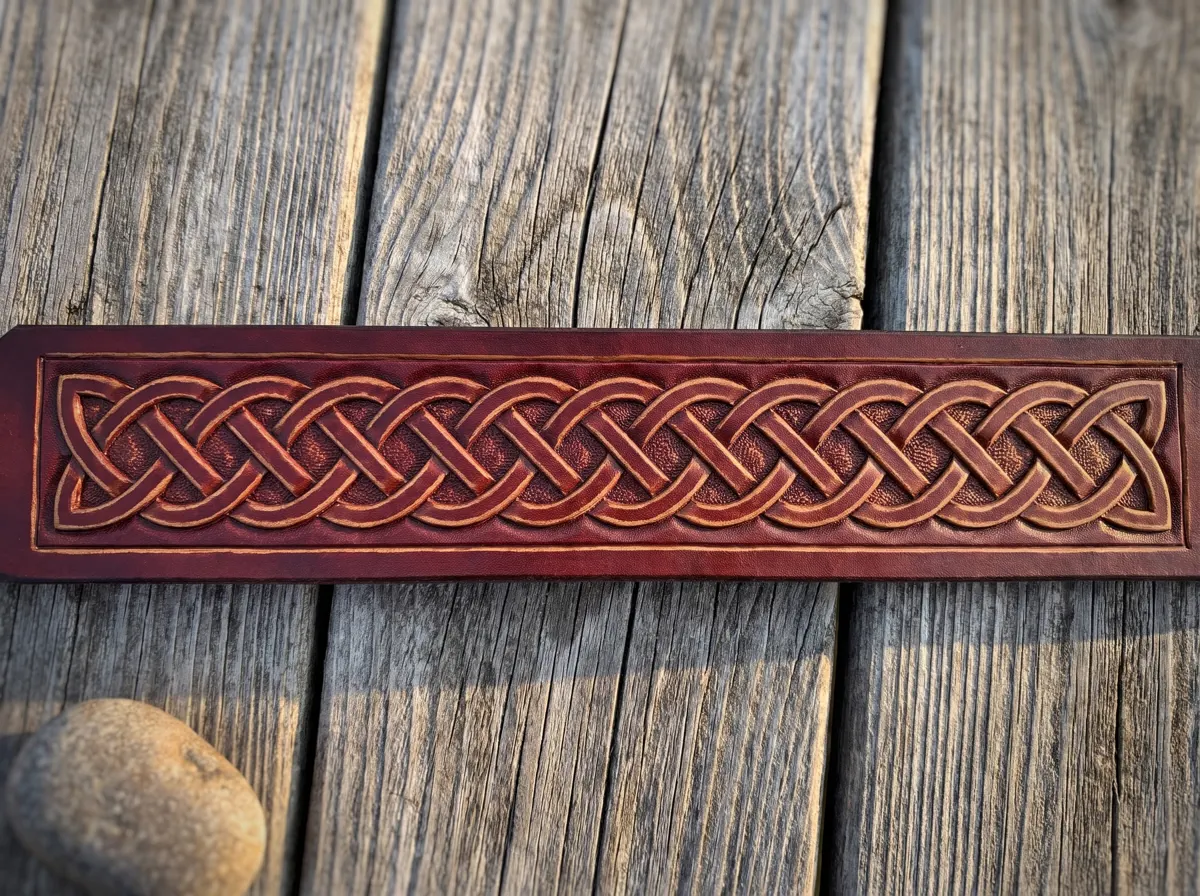
A belt is one long strip, so the layout decides whether the finished piece looks planned or improvised. The carving is the same as on any panel, but the repeat has to fit a length that depends on the wearer.
Width and weight
1 1/2 inch is the usual width for a jeans belt, 1 1/4 inch suits dress belts and many women's belts, and 1 3/4 inch is used for heavier western belts. Check the buckle you plan to use; its bar sets the width. Belt straps are usually cut from 8 to 10 oz veg-tan, which is firm enough to hold its shape and thick enough for a deep carving.
How long to cut it
A common rule is to measure an existing belt that fits, from the fold at the buckle to the hole the wearer uses most, and use that as the length to the middle hole. Without a belt to measure, waist size plus about two inches gets you close. Then add enough at the buckle end for the fold, and enough at the tip for the holes and the tip shape. Cut the strap a little long; you can shorten the tip end after tooling, but you cannot add leather.
Where the tooling goes
Mark the strap before tracing anything:
- The buckle end, where the strap folds around the buckle and the keeper sits. This area is usually left plain or given a simple border.
- The tip end, where the holes are punched. Also usually left plain.
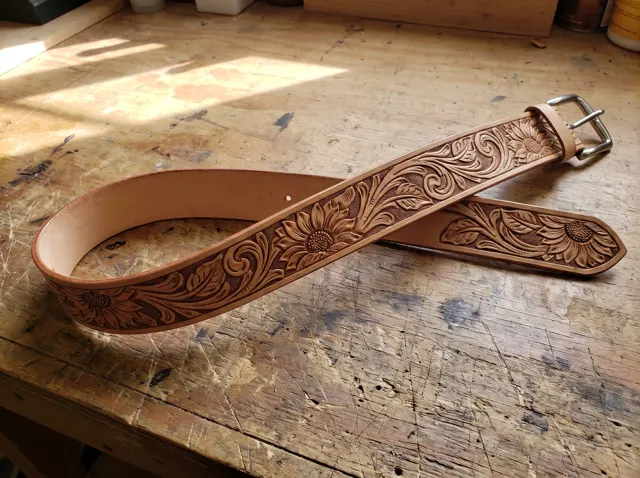
- The tooled section between them, which is what shows when the belt is worn.
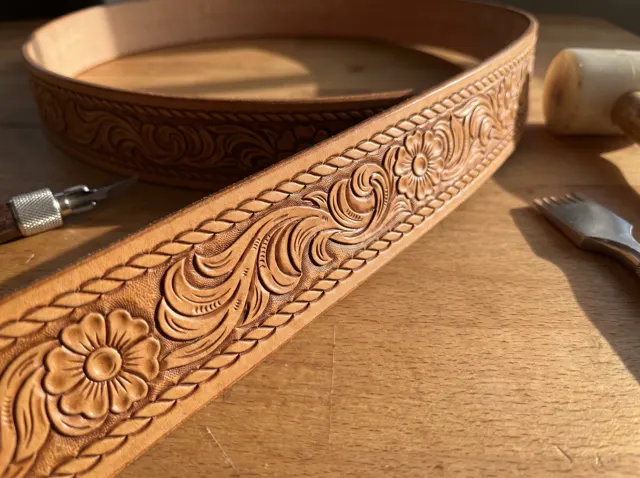
Leave a margin along both edges for an edge groove or stitch line, so the design does not crowd the edge.
Repeating the pattern
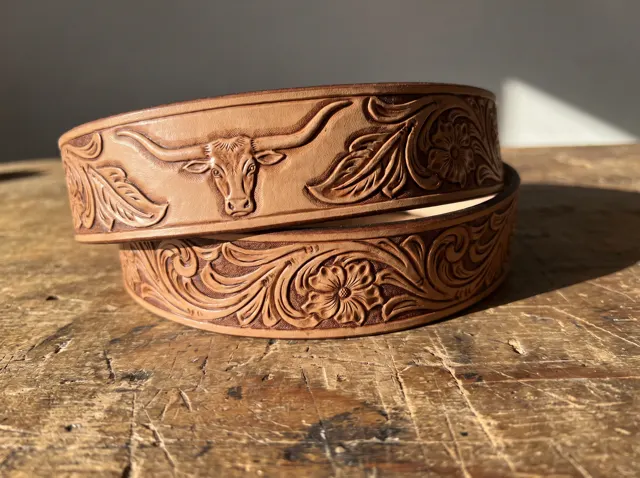
Belt patterns are usually a repeat unit: one section of flowers or a border that joins to itself end to end. Find the centre of the tooled section, which sits at the middle of the wearer's back, and start the repeat there, working outward in both directions. Starting from the centre keeps the design symmetric where it is most visible, and any partial repeat ends up at the ends, where it can taper into a plain area.
Trace one repeat, move the pattern along so its joining line matches the last one, tape it, and trace again. Check the alignment at every join; a small drift adds up over a dozen repeats.
Order of work
A full belt takes a long time, and the leather dries as you go. Case and tool it in sections, keeping the rest wrapped, and re-case each section before you work it. Cut and stamp the full length, then punch the holes and finish the edges after the tooling is dry.